clearString neatComponents
| |
|
clearString neatComponents Data Entry Form |
| Reference | ||
Data Entry Form | ||
![]()
The Data Entry Form allows a custom layout to be defined for entering or amending data in a Table.
A Table also has its own default layout, which is a simple column showing all fields, in the order they appear where the fields are defined. This is useful for prototyping, for example developing the business-logic for an application, but for 'production' sites you need the flexibility of the Data Entry Form where you can control the exact location of prompts, fields, graphics and standing text.

Data Entry Forms components are useful as they allow you to:
- Choose any layout you like.
- Only allow some of the fields to be worked with.
- Provide different Data Entry Forms to different users (based on their permissions) - for example allowing administrators to access more fields than visitors.
- Place the Data Entry Forms in different locations within the site tree than the underlying Form.
To Create a Data Entry Form
- First create your underlying Table as normal (ie using a Table component)
- Add a Data Entry Form Component and open in a new window/tab
- In the Data Entry Form's Toolbox, check that 'Configure Data Entry Form' is selected.
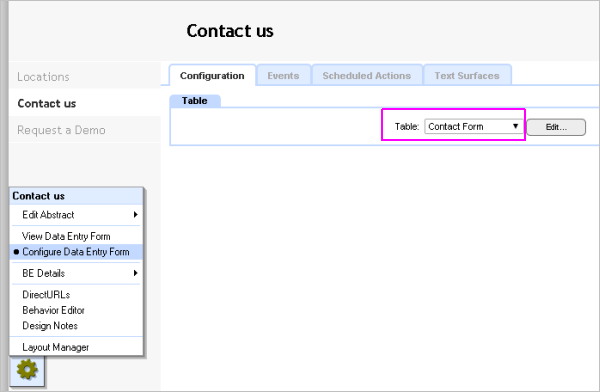
- Choose the 'Configuration' tab, and then select the Table from the drop-down list of all available Tables. Then click the [Apply] button at the bottom of the surface.
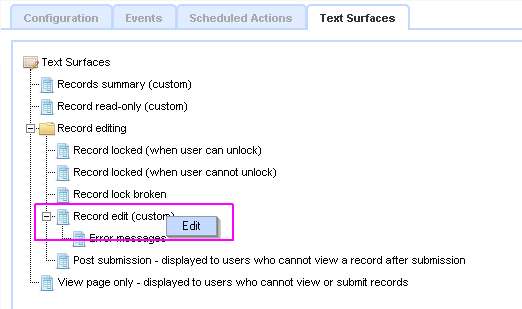
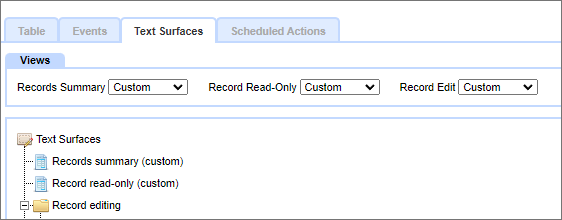
- Select the 'Text Surfaces' tab.
On the Text Surfaces tab, locate (just hover over) "Record edit (Custom)".
Right-click and click [Edit], or double-click the highlighted text.
A small blue 'Edit' context-item will open on right-click, then click it to open.
This opens a text editor, where you can create your layout, and use the Embed wizard to place fields, field prompts, and submit buttons. Exact position can readily be tightly specified using HTML-tables within the text-editor, or you can use DIVs.
Once created, a Data Entry Form works in the same way as the underlying Table's default form, in terms of the way you can link to it, either without parameters, or with parameters to get directly to a specific record.
Example
See a detailed example here in: A First Site...
Validation criteria
The Data Entry Form enables you to set validation criteria to help ensure sensible information is collected by the form. Read more about Field Validation here...
Show custom surface to Visitor
By default, even with Custom surfaces selected in the Configure mode...
...the Visitor to the DEF will see a link to 'Click here to submit a new record'.
To get the DEF to display the Custom surface you need to append
?action=edit&replyid=-1 to the linking URL
For example: https://www.example.com/page?Action=edit&replyid=-1
This will force the DEF to display in edit mode.
Tip:
To have a Custom DEF from primary navigation, set the navigation link to redirect to a Hidden DEF and append the
?action=edit&replyid=-1 to the link destination.
Post submission Surface
When you are logged in as an app creator or designer and you click a [Submit] button on a Data Entry Form you are normally taken to a view of the data in the table (this action is configurable). However, if you are not logged in, or are logged in with insufficient permissions you are instead shown the Post submission Surface.
This is a regular surface, initially unconfigured, where you can enter text and links - for example: 'Thank you for your information.' and a 'Continue' link taking the visitor to a page or location of your choice. The surface can also have Embeds to provide data derived notices, counts or whatever. This surface should be configured, otherwise your user will see a blank surface.
Tip
Using an incognito or private window enables you to readily view the application as a 'visitor' while you remain logged in as the app creator.
Copyright © 2026 Enstar Systems Inc. All rights reserved |