clearString neatComponents
| |
|
clearString neatComponents Where is everything? |
| Application Development | ||
Where is everything? | ||
The system is installed on one machine (the server) and then is accessed with a web browser, normally from other machines (clients) on your local network or across the Internet. After the initial installation all other management and configuration is done using a web browser.
You can use Chrome, Safari or Firefox to manage the system and build sites. The system is designed to feel and work like local software installed on your own machine, but its all done with an ordinary web browser.
All configuration is done using a web interface - there is no 'console', IDE, program GUI or other direct graphical interface. The web interface that the system uses has been custom designed to give you the 'feel' of studio-tools, but whether you are working alone on the server itself, or as part of a team spaced around the world you are always using a web interface to configure components.
In Production
In the 'real world' you would not work on a website from the server machine itself - once it is installed on the server you would treat that machine as a dedicated appliance. So, the system is installed on its own machine - either in your office or at a regular hosting company and you access it across the Internet using your browser from your usual computer (setting up access - read how...).
Every site you create and all other manipulations will be done using your web-browser to access the Site Manager.
For Testing
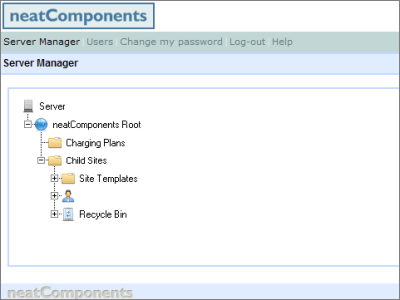
But, for very small scale use, and for testing - so you can get started with the site manipulation - you can make an exception, and work on the server itself. So, on the machine you actually installed onto, return to the Server Manager.
If you have closed the Server Manager, you can return to it by browsing to http://local.neatcomponents.com in your browser: you will need to log in again using the email address and password that you created during the install process.
 When an ordinary visitor sees a website created and hosted in the system they are not aware of any differences from a regular website.
When you are logged in to the site with edit permission you will see a small 'toolbox' gear-icon  floating in the bottom-left corner of the window. The toolbox confirms that you are logged in, and gives you access to the website design tools. As a site designer, you have total control over the site including page content, navigation and site layout - as well as embedded components.
Example site
The system ships with a ready to use example site-template for use with this tutorial. The next step is to create an example site to work with.
Creating your first app In this section |
|
Creating your first app
We learn where sites are located on the server, and how all configuration is done via your web browser. In this section: |
|
 What are we learning here?
Copyright © 2026 Enstar Systems Inc. All rights reserved |